
Drawing technique
Very thin, fine lines can be drawn with the silverpoint. The tip of the silverpoint is sanded with fine-grained abrasive paper. A surface filling is achieved
by shading (circular movements or linear movements with a blunt pencil).
In order to create shadows (contrast), several shaded layers are laid on top of each other.
The shaded filling is then covered with hatching or cross-hatching, as desired.
How does cross-hatching work?
Cross hatching starts with a hatching:
1. Hatching is created by drawing several thin lines parallel to each other. One can create the whole image with hatching only. The lines
are usually straight. However, there are also arched hatching and curve hatching. Rulers and curve rulers are often used to generate
hatches used. The lines of the hatches usually follow the body.
2. Crosshatching is created by diagonally hatching a second layer (or further layers) hatching over it.
Many drawings combine shading, hatching and cross-hatching in all conceivable possible positions and directions (see the silverpoint drawings of the Old Masters).
Once a line has been set, it is difficult to remove it with an eraser, unless you scratch or erase the primer from the surface and paint over it with a new primer.
Hachting
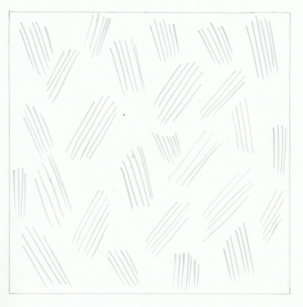
Cross-hatching

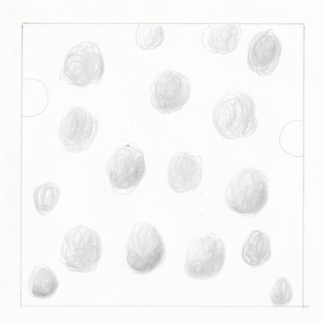
Circular shading
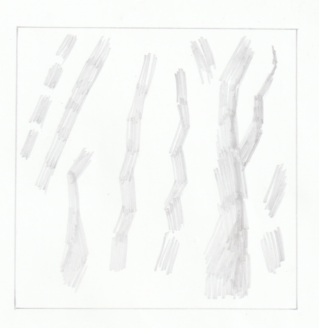
Wood - linearly shaded

Trunk and branches, hatched / crosshatched


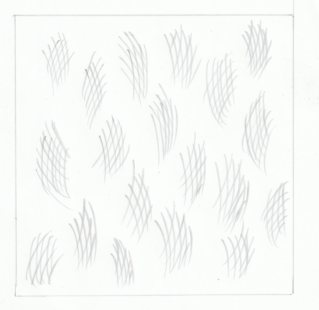
Arched hatching
Arched cross-hatching
Linear shading
Cherries - circular shaded

Apple - shaded, hatched and crosshatched
